

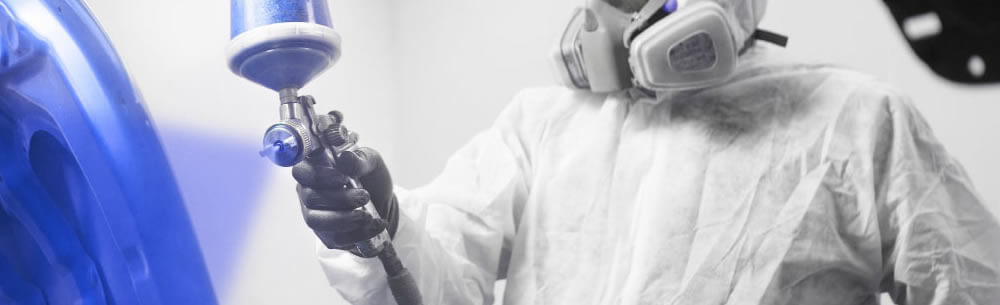
Finition - Detailing

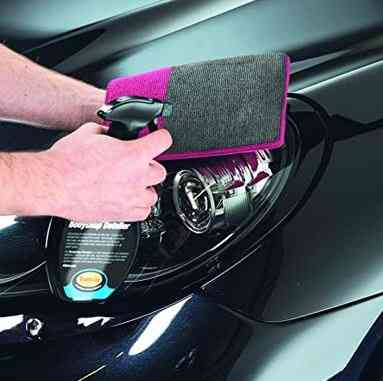
Le liquide de lustrage est efficace pour le nettoyage , et le lissage des surfaces des carrosseries. Il donne à la voiture une apparence neuve , en améliorant son d’éclat. Pour bien appliquer le liquide de lustrage , il est conseillé d’utiliser une mousse de lustrage.
Lire la suite


Promotion
EN AVEZ VOUS BESOIN ?

-20.4%
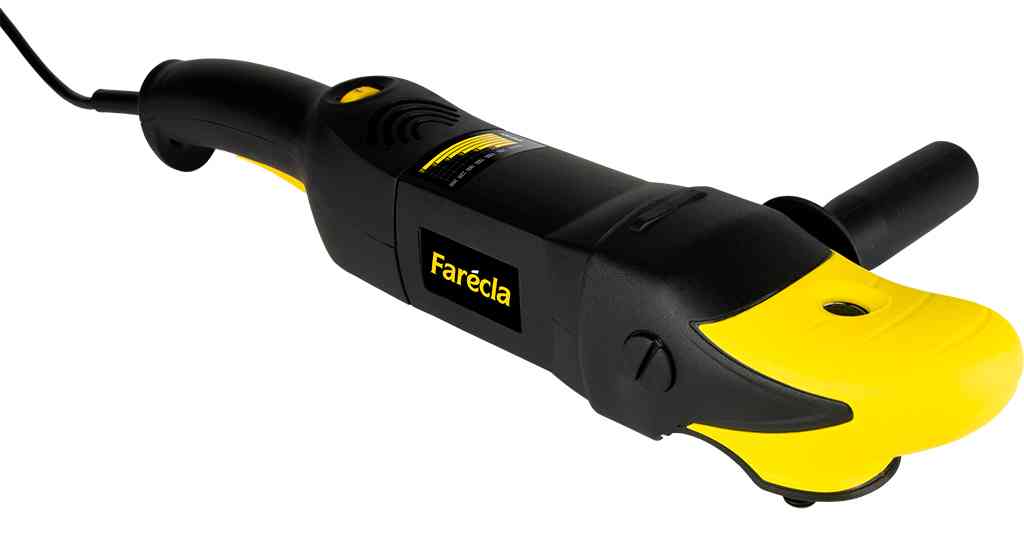
FARECLA
7218
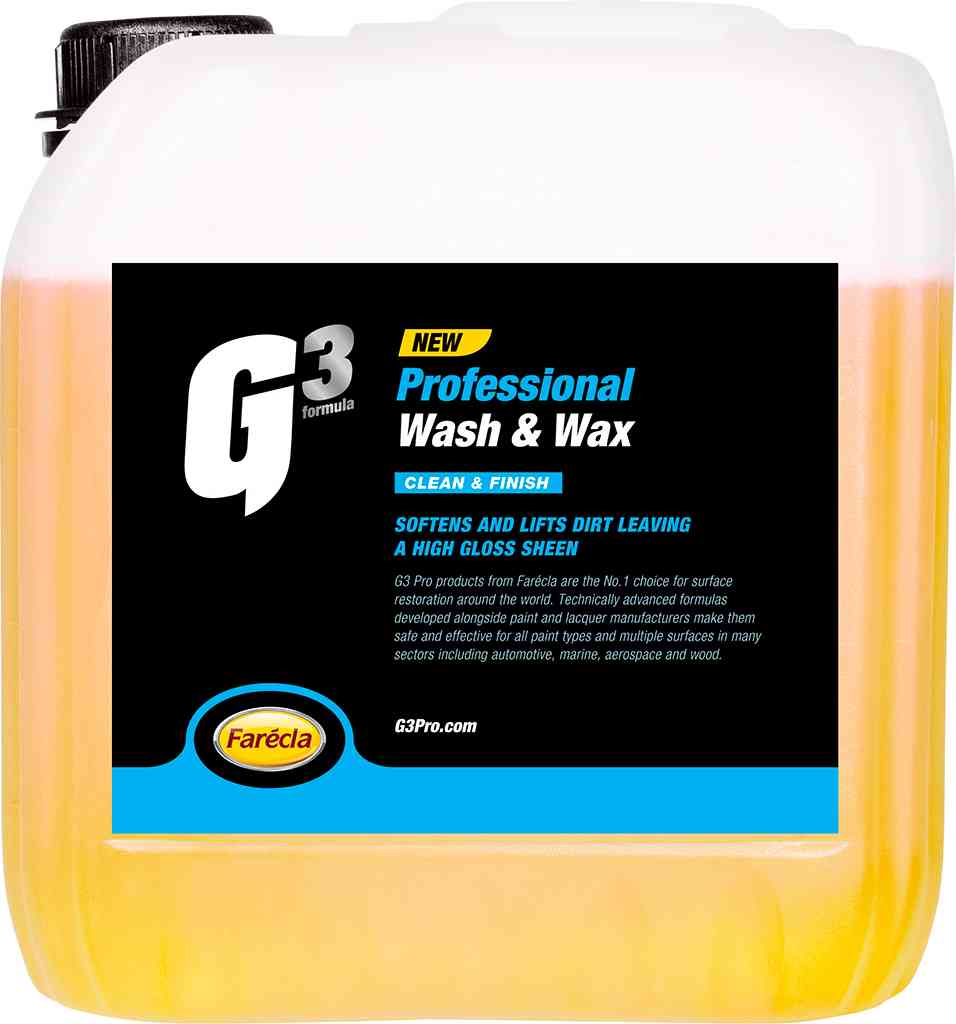
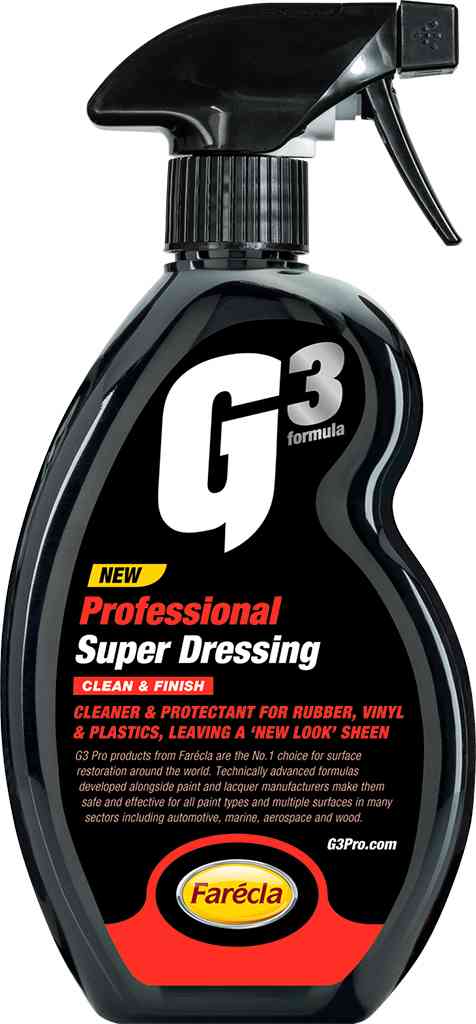
Nettoyant doux carrosserie Wash & Wax 3.78L
59,95 € HT
75,31 € HT
En stock
Nouveauté
EN AVEZ VOUS BESOIN ?
-13.8%
FARECLA
7202
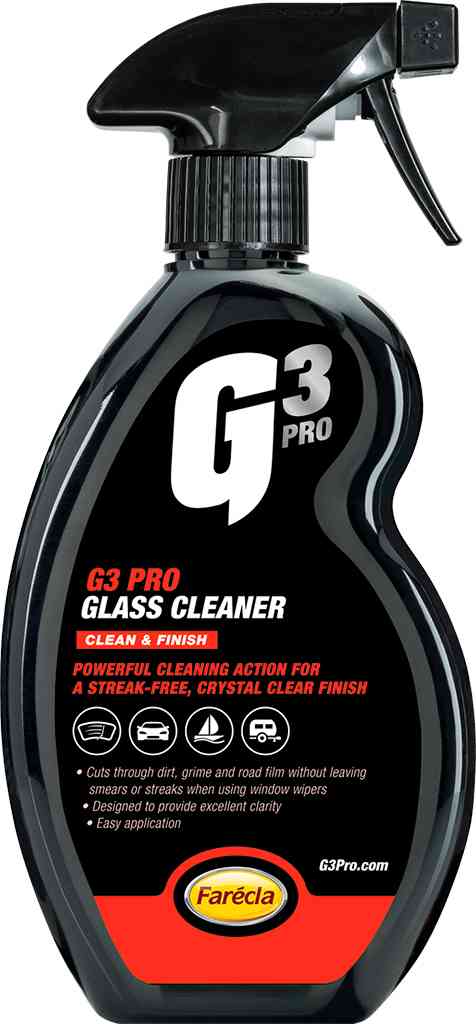
Spray nettoyant vitrage Glass Cleaner redonne clarté 0.5L
14,95 € HT
17,34 € HT
En stock
EN AVEZ VOUS BESOIN ?
BONDERITE
C-MC3000
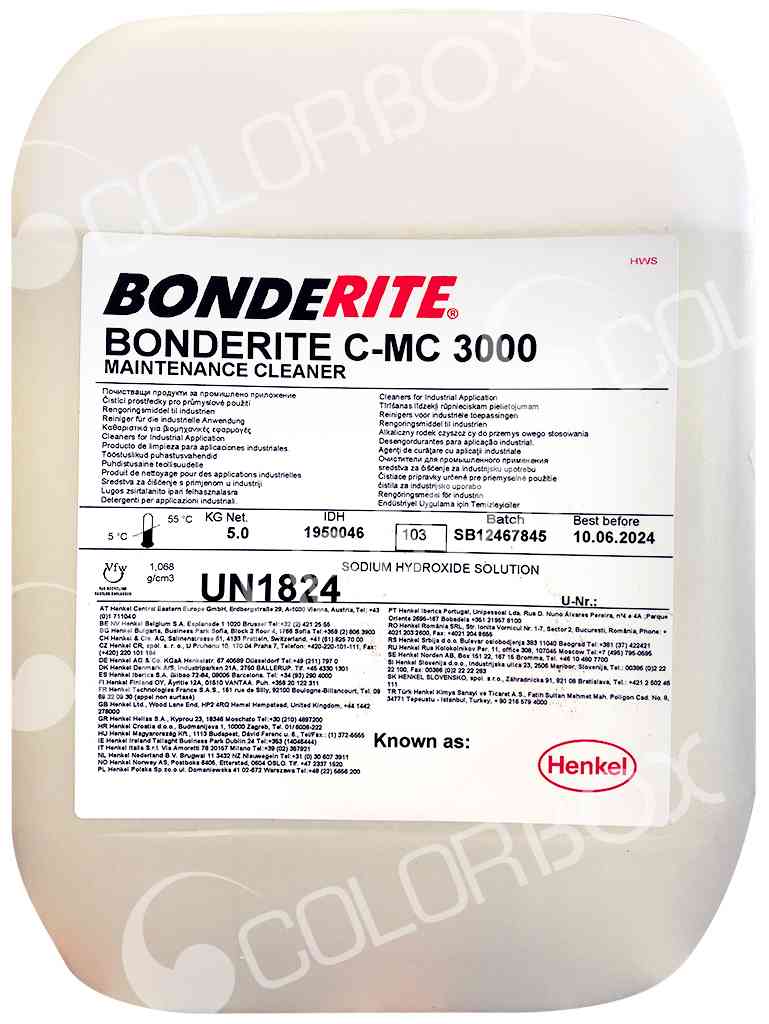
Nettoyant biodégradable pour lavage extérieur du véhicule 5KG
31,00 € HT
En stock
Nouveauté
EN AVEZ VOUS BESOIN ?
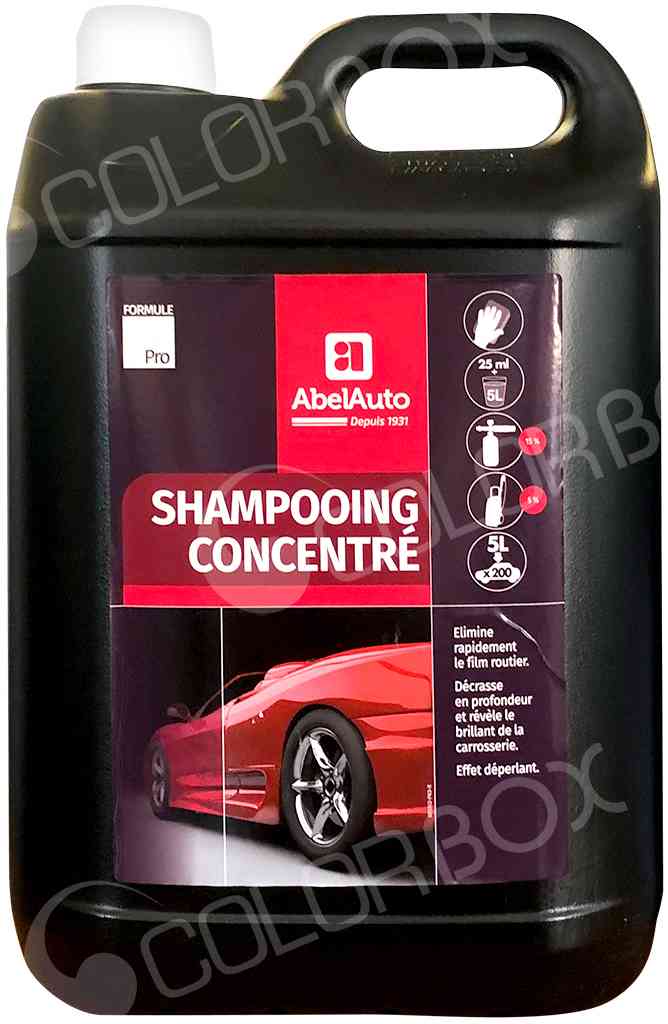
ABEL AUTO
005302
Shampooing concentré 5L
32,50 € HT
En stock
Nouveauté
EN AVEZ VOUS BESOIN ?

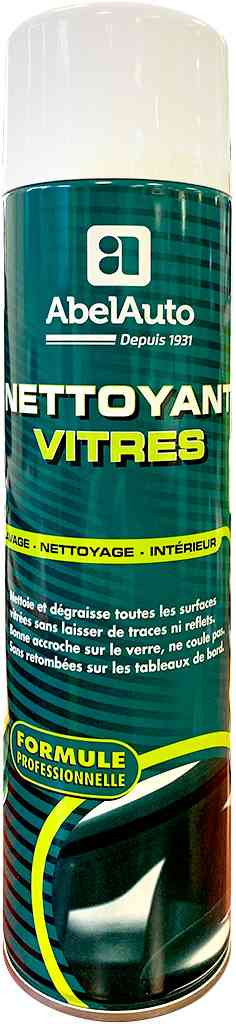
ABEL AUTO
042802
Nettoyant vitres 5L
43,50 € HT
En stock
Nouveauté
EN AVEZ VOUS BESOIN ?
ABEL AUTO
007702
Nettoyant vitres en aérosol 600ml
12,00 € HT
En stock
EN AVEZ VOUS BESOIN ?
-15.7%
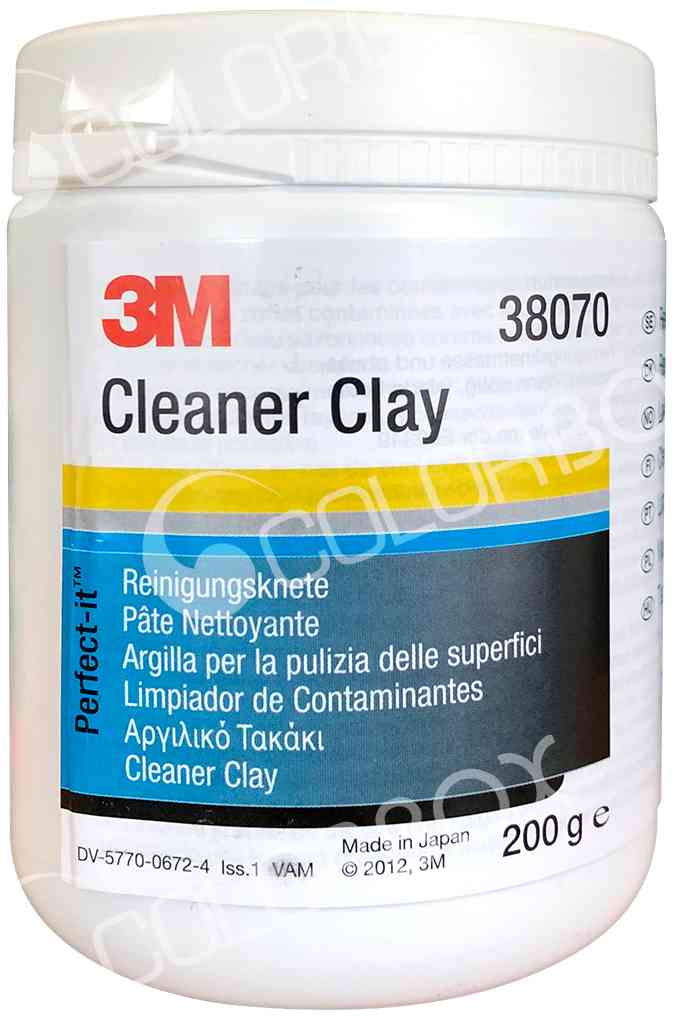
3M
38070
Gomme bleue à nettoyer
53,50 € HT
63,48 € HT
En stock
Nouveauté
EN AVEZ VOUS BESOIN ?
-13.8%
FARECLA
7202
Spray nettoyant vitrage Glass Cleaner redonne clarté 0.5L
14,95 € HT
17,34 € HT
En stock
Nouveauté
EN AVEZ VOUS BESOIN ?

-24.8%
3M
KIT_34103
Kit lustreuse 34103 + mousses 34124 & 34127 + liquides 34131 & 34134
599,00 € HT
796,09 € HT
En stock
Nouveauté
EN AVEZ VOUS BESOIN ?
-20.5%
FARECLA
KT3006
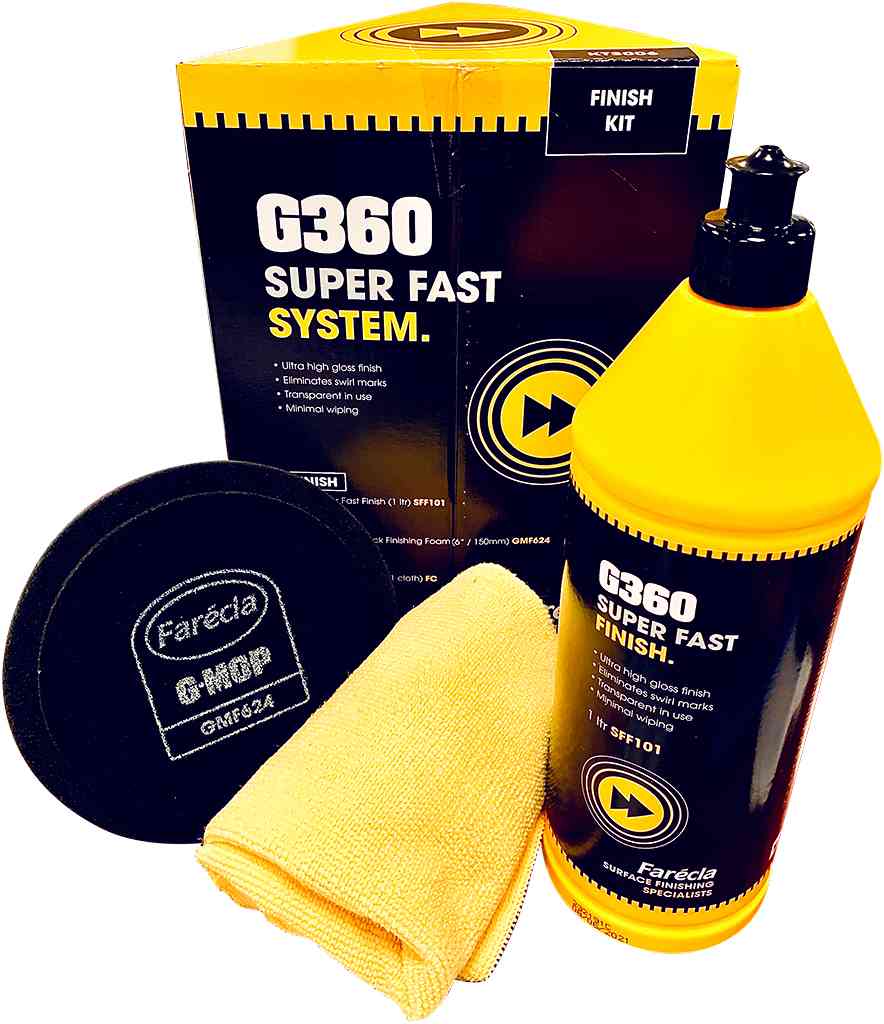
Kit lustrage voitures foncées G360 EFFET MIROIR
66,95 € HT
84,20 € HT
En stock
Nouveauté
EN AVEZ VOUS BESOIN ?
FARECLA
7501
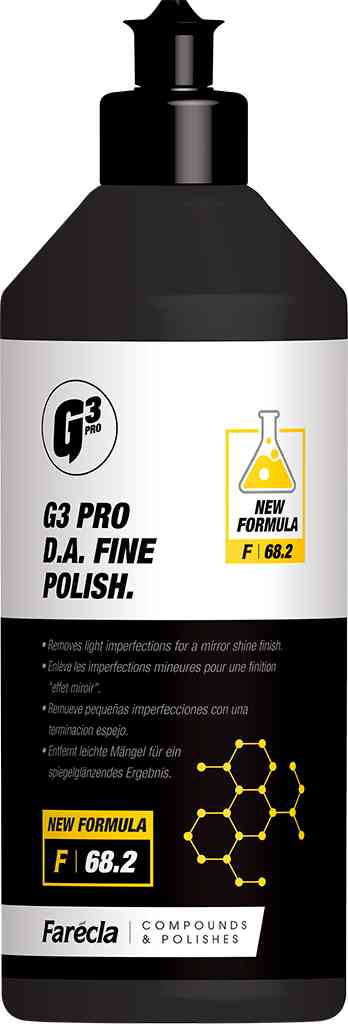
Polish effet miroir GAMME PRO D.A Fine pour finition 0.5L
27,95 € HT
En stock
EN AVEZ VOUS BESOIN ?
-19.7%
FARECLA
7506
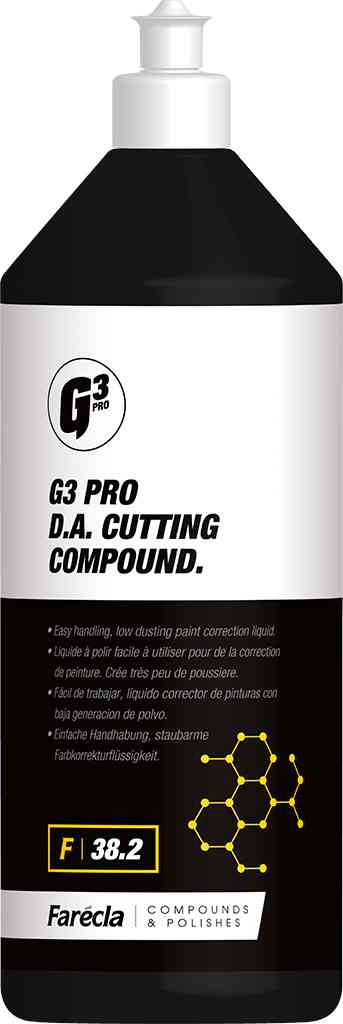
Liquide à polir correcteur de peinture GAMME PRO 1L
42,95 € HT
53,52 € HT
En stock
Nouveauté
EN AVEZ VOUS BESOIN ?
-16.8%
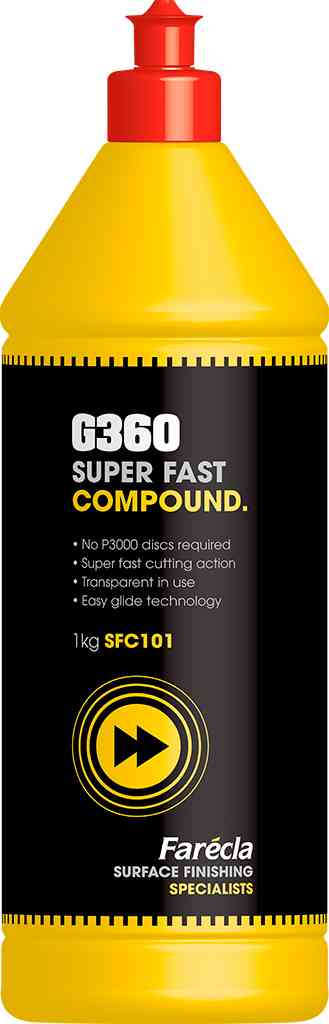
FARECLA
SFC101
Pas d'étape P3000 ! Liquide de polissage G360 super rapide 1kg.
53,50 € HT
64,34 € HT
En stock
Nouveauté
EN AVEZ VOUS BESOIN ?
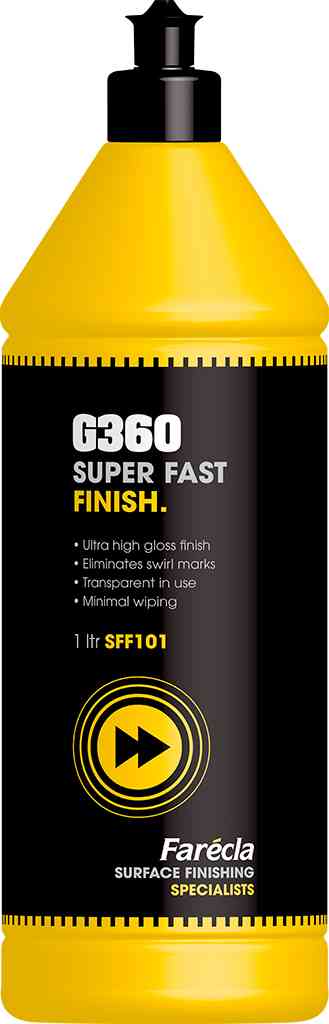
-13.5%
FARECLA
SFF101
Spécial voitures foncées. Liquide de finition G360 super rapide 1L
45,50 € HT
52,60 € HT
En stock
Nouveauté
EN AVEZ VOUS BESOIN ?
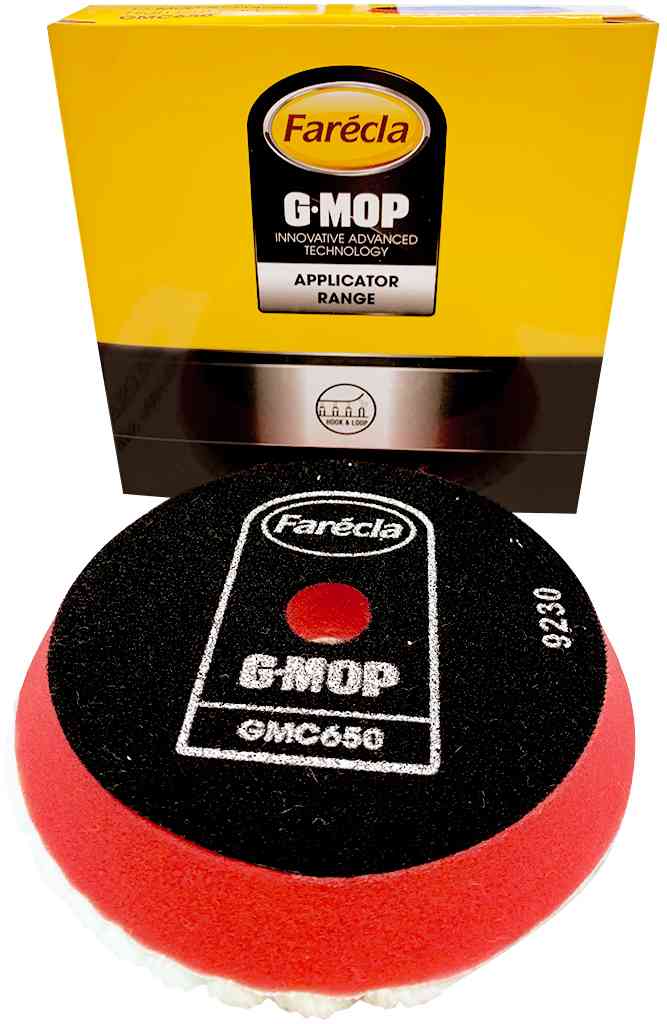
-1.2%
FARECLA
GMC650
ETAPE 1, 1 mousse de polissage hybride G MOP super coupe - diam 150 mm
29,80 € HT
30,15 € HT
En stock
Nouveauté
EN AVEZ VOUS BESOIN ?
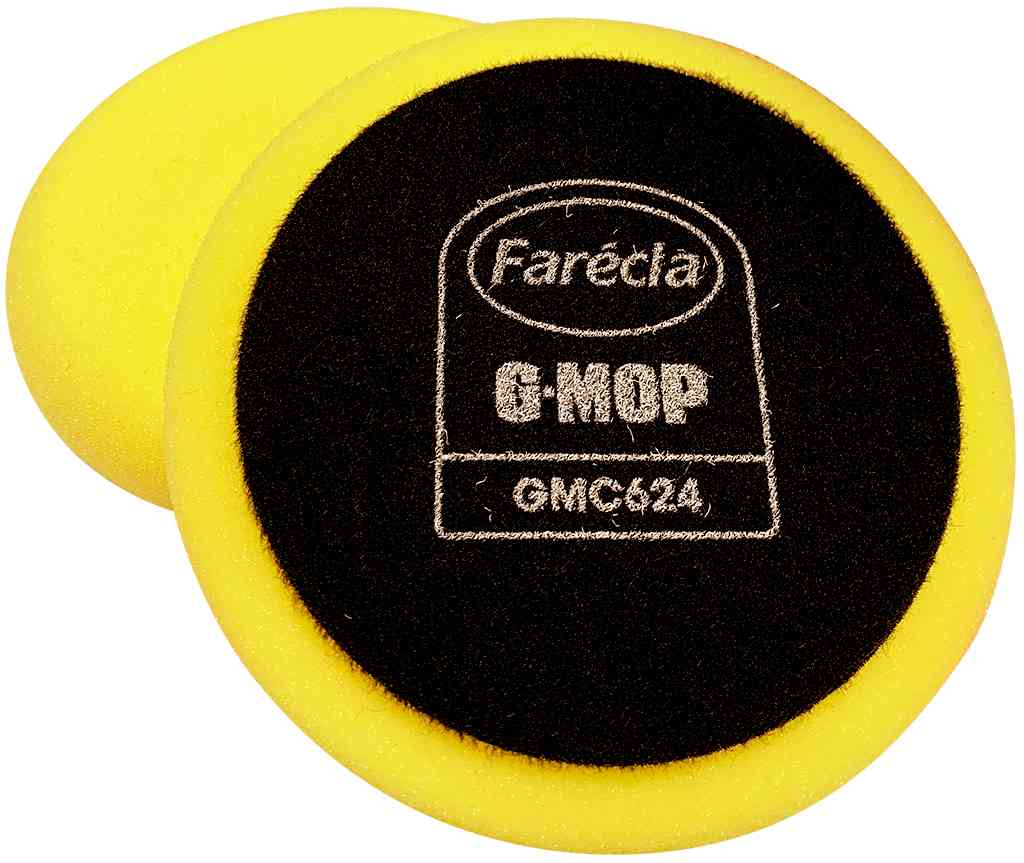
-29.3%
FARECLA
GMC624
ETAPE 2, 2 mousses de polissage hybrides G MOP jaunes - diam 150 mm
33,95 € HT
48,00 € HT
En stock
Nouveauté
EN AVEZ VOUS BESOIN ?
-9.7%
FARECLA
GMC312
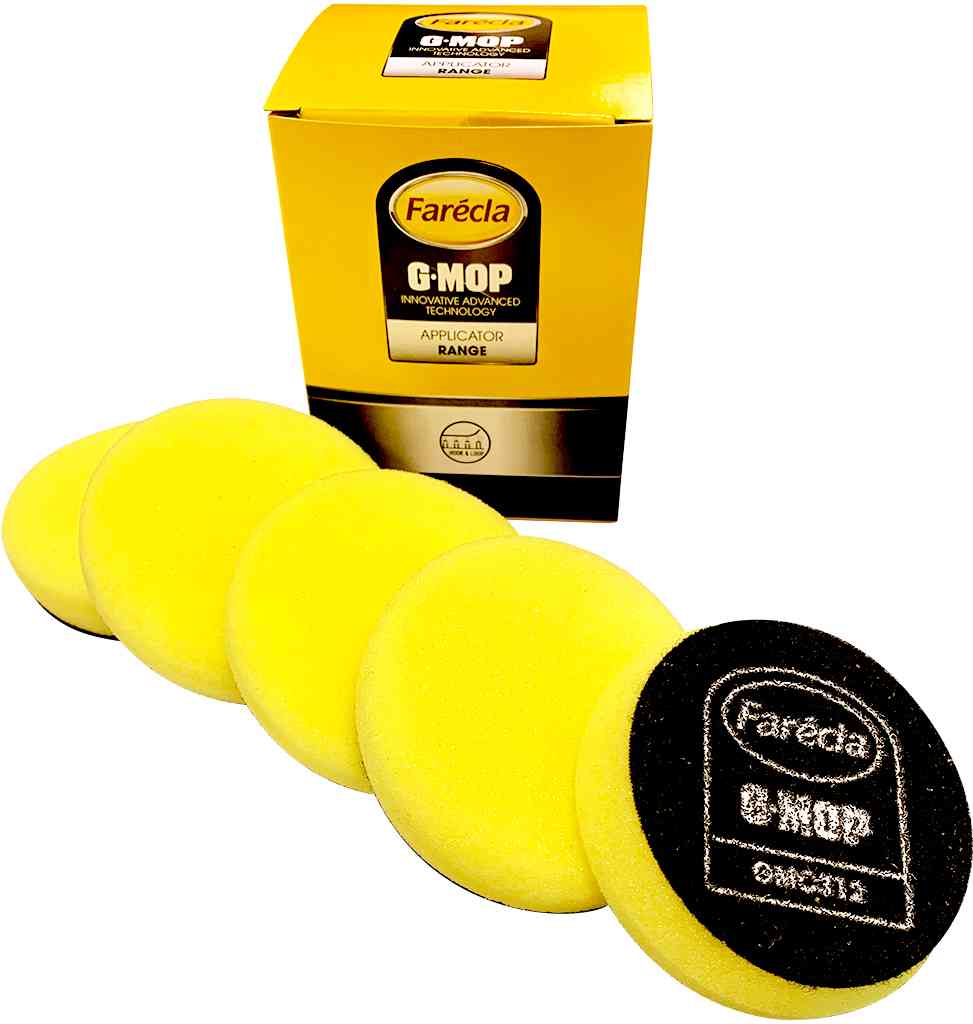
ETAPE 2, 5 mousses jaunes de polissage G MOP - densité tendre - diam 75 mm
28,99 € HT
32,11 € HT
En stock
Nouveauté
EN AVEZ VOUS BESOIN ?
-8.5%
FARECLA
GMF301
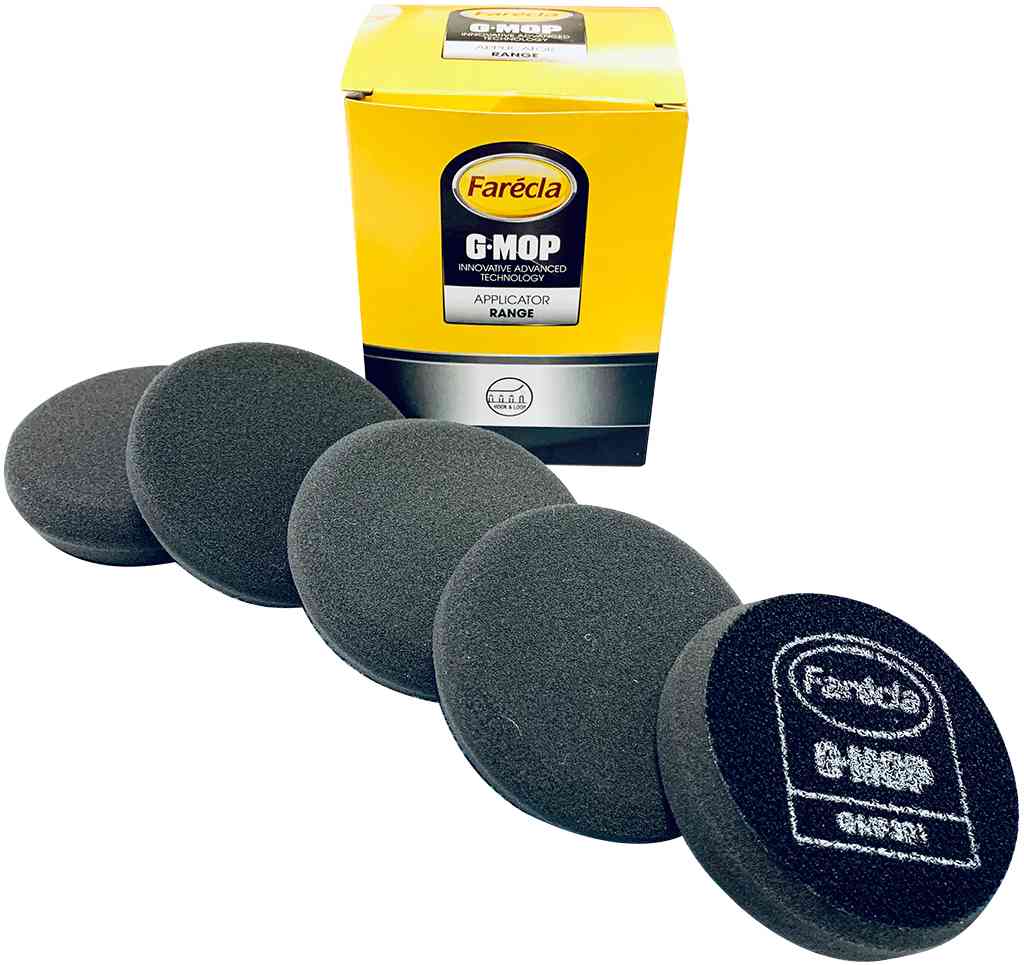
ETAPE 3, 5 mousses noires de finition G MOP - densité tendre - diam 75 mm
26,95 € HT
29,45 € HT
En stock
Nouveauté
EN AVEZ VOUS BESOIN ?
-16.1%
FARECLA
7211
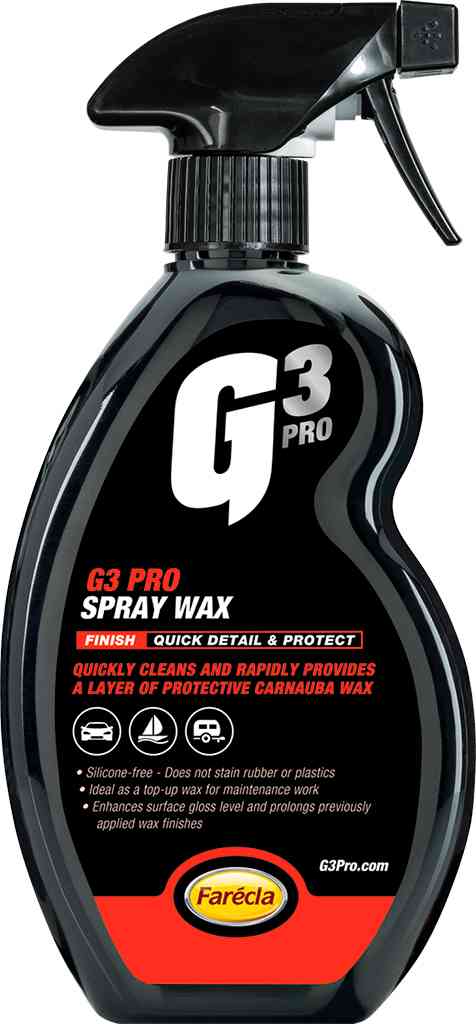
Spray cire de protection et de brillance 0.5L
21,50 € HT
25,62 € HT
En stock
Nouveauté
EN AVEZ VOUS BESOIN ?
-16.1%
FARECLA
7213
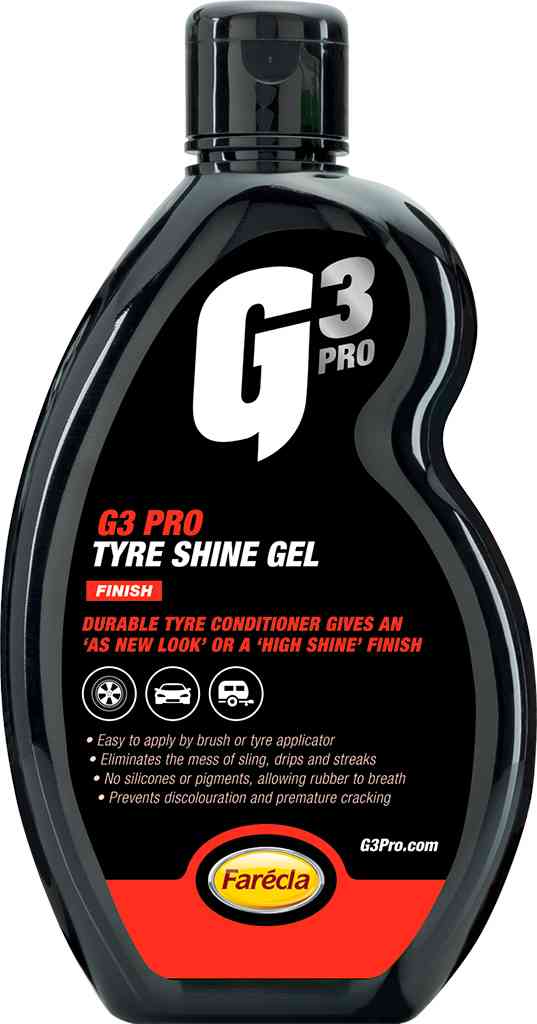
Gel pour pneus protection et brillance Tyre Shine 0.5L
16,05 € HT
19,13 € HT
En stock
EN AVEZ VOUS BESOIN ?
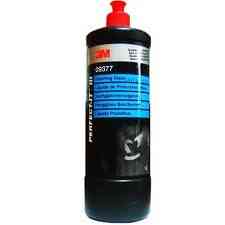
-15.2%
3M
09377
Liquide de protection ultime - bouchon rouge
37,00 € HT
43,61 € HT
En stock
Nouveauté
EN AVEZ VOUS BESOIN ?
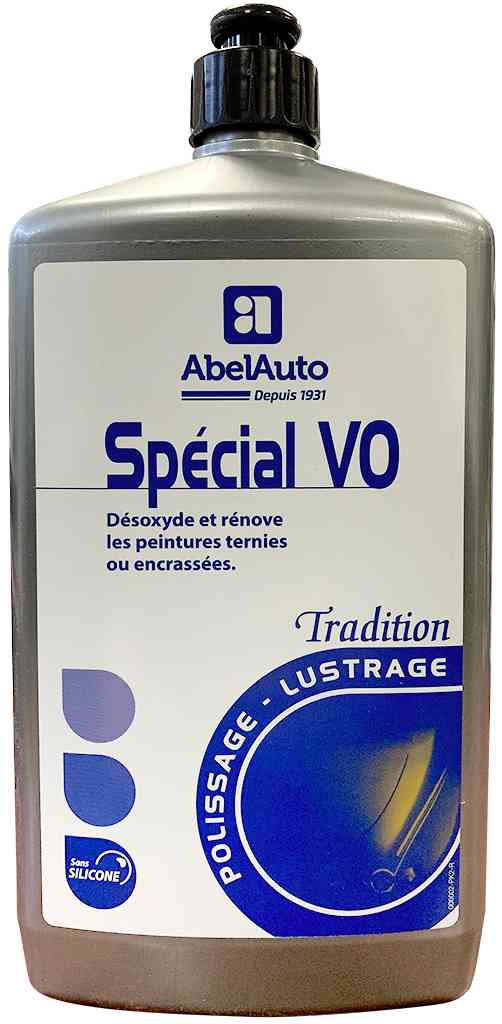
ABEL AUTO
006002
Rénovateur de peinture Spécial VO 1L
22,50 € HT
En stock
Nouveauté
EN AVEZ VOUS BESOIN ?
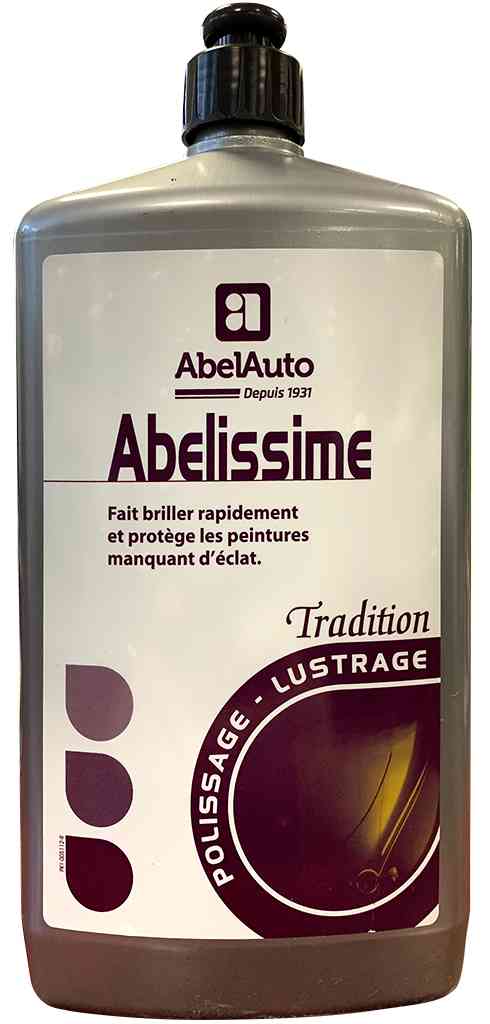
ABEL AUTO
005112
Abelissime 1L pour faire briller & protéger votre peinture.
27,95 € HT
En stock
EN AVEZ VOUS BESOIN ?
-12.6%
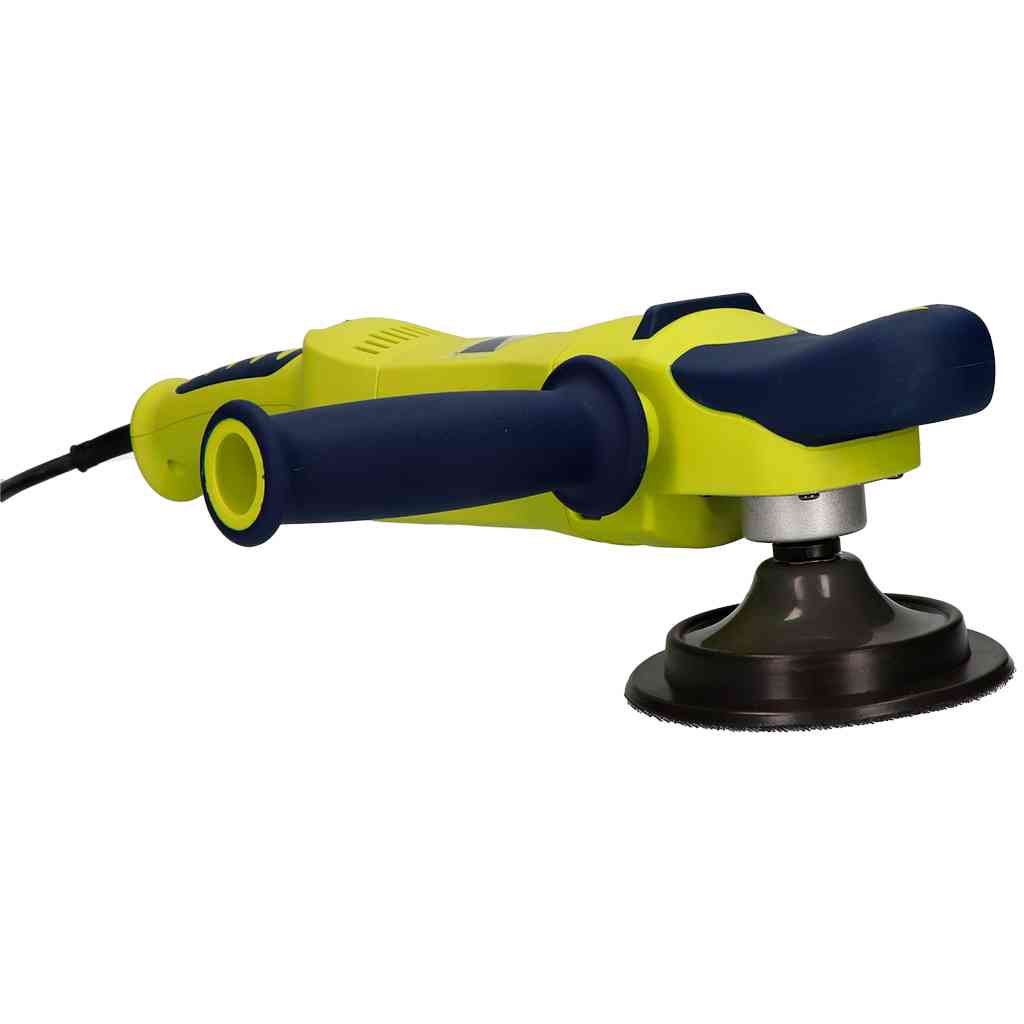
FARECLA
GPT002
Polisseuse électrique rotative diam 150mm et son plateau
319,95 € HT
366,04 € HT
En stock
EN AVEZ VOUS BESOIN ?
-14.2%
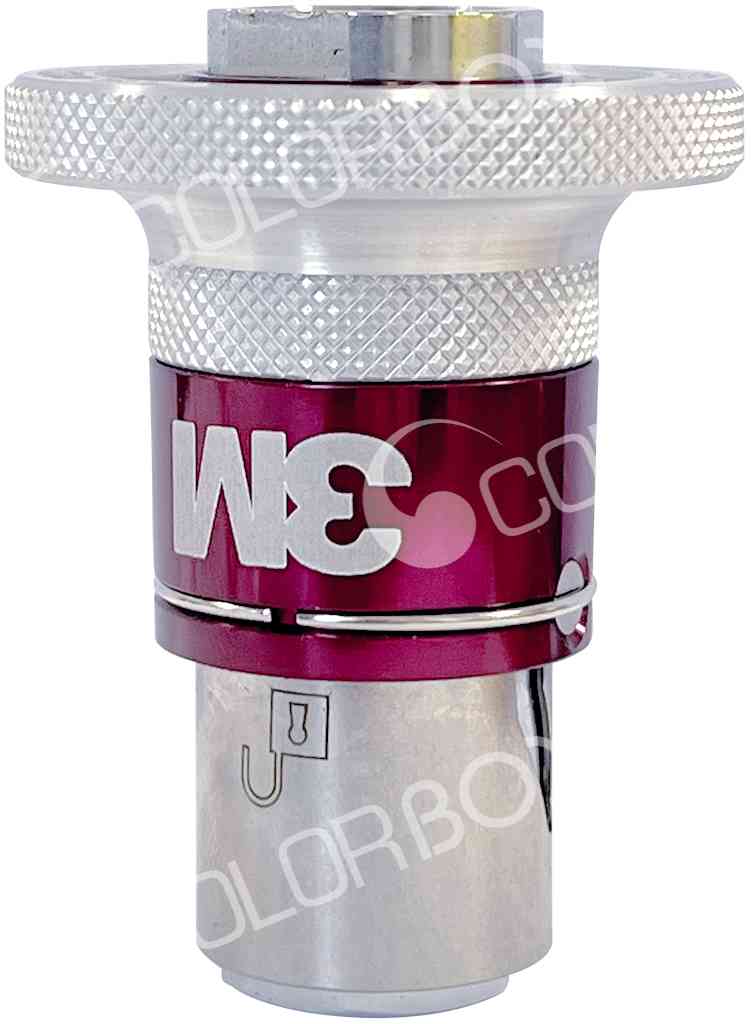
3M
33271
Adapateur quick connect pour Lustreuse 3M P64392
81,50 € HT
95,00 € HT
En stock
EN AVEZ VOUS BESOIN ?

-6.7%
FARECLA
7505
Kit detailing polisseuse, 2 liquides, 3 mousses & 1 sac OFFERT
385,00 € HT
412,53 € HT
En stock
EN AVEZ VOUS BESOIN ?
-13.7%
3M
50199
Diam 32mm bloc à poncer avec interface mousse
17,90 € HT
20,74 € HT
En stock
EN AVEZ VOUS BESOIN ?
-10.5%
3M
05710
Adaptateur pour tampon 05704
19,99 € HT
22,34 € HT
En stock
Nouveauté
EN AVEZ VOUS BESOIN ?
-24.8%
3M
KIT_34103
Kit lustreuse 34103 + mousses 34124 & 34127 + liquides 34131 & 34134
599,00 € HT
796,09 € HT
En stock
Nouveauté
EN AVEZ VOUS BESOIN ?
-16.3%
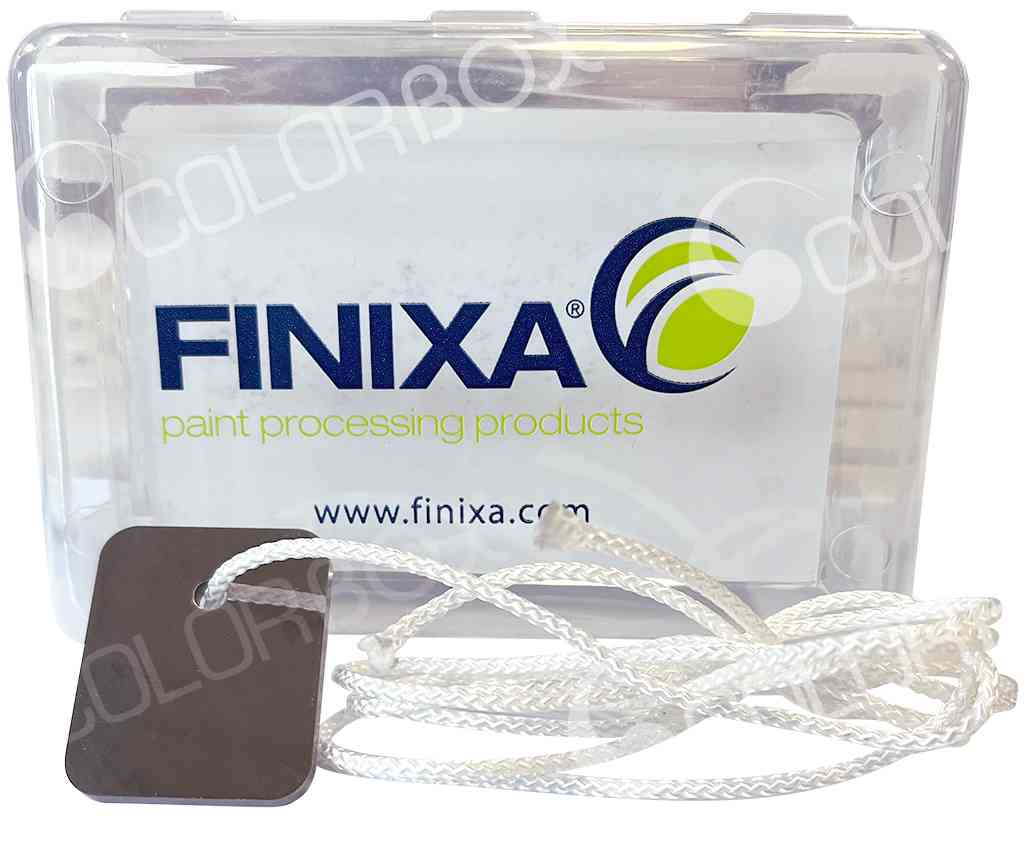
FINIXA
DRF10
Lime de poussière rectangulaire
57,50 € HT
68,70 € HT
En stock
EN AVEZ VOUS BESOIN ?
-6.2%
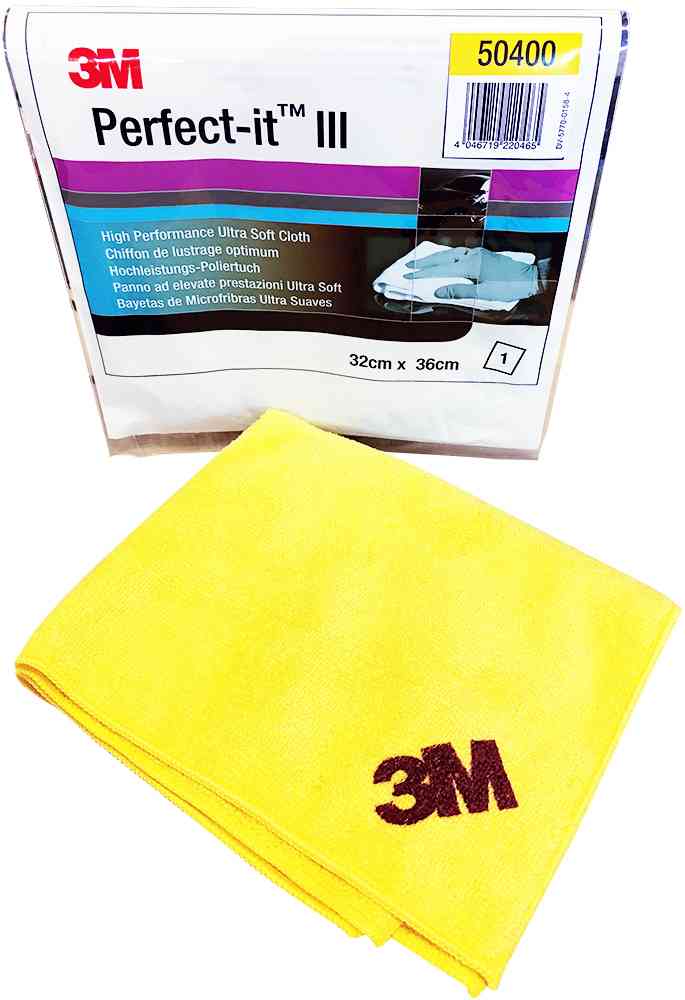
3M
50400
1 chiffon de lustrage optimum jaune
7,99 € HT
8,52 € HT
En stock
EN AVEZ VOUS BESOIN ?
-0.2%
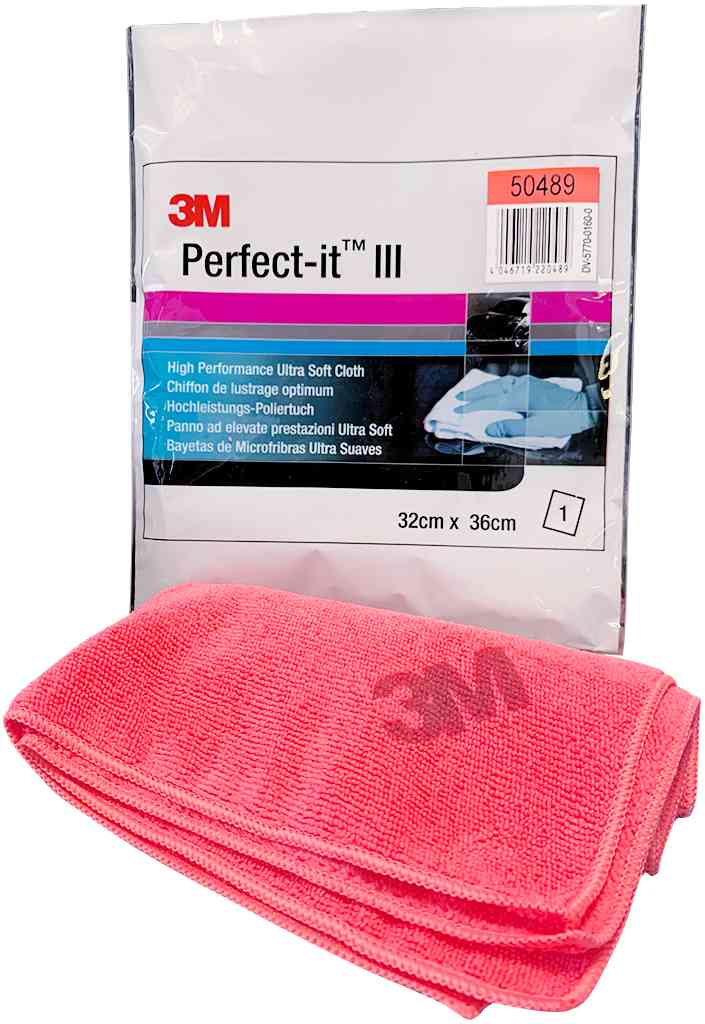
3M
50489
1 chiffon de lustrage Perfect-It III
8,50 € HT
8,52 € HT
En stock
Top ventes
EN AVEZ VOUS BESOIN ?
FARECLA
7191
Gant de nettoyage ultra résistant microfibre et polymère
23,95 € HT
En stock
Nouveauté
EN AVEZ VOUS BESOIN ?
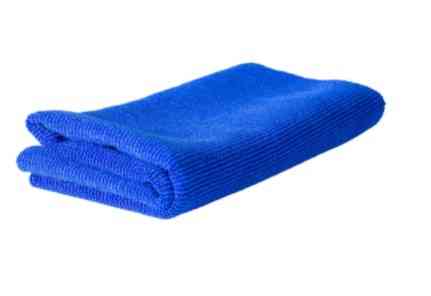
FARECLA
7238
Grande serviette de séchage doucle face double usage
19,25 € HT
En stock
Baisse de prix
EN AVEZ VOUS BESOIN ?
-16.4%
3M
34568
275 chiffons de lustrage
62,00 € HT
74,19 € HT
En stock
EN AVEZ VOUS BESOIN ?
-25.9%
SIFA
000440
Coton naturel à lustrer en accordéon - paquet 1kg
19,99 € HT
26,99 € HT
En stock
EN AVEZ VOUS BESOIN ?

-17.9%
KEMTEX
SMART_WIPES
200 chiffons de dégraissage
38,50 € HT
46,90 € HT
En stock
Nouveauté
EN AVEZ VOUS BESOIN ?
-20.7%
FARECLA
B400-0025
25 Grands chiffons microfibre d'essuyage spécial detailing 40 x 40cm
62,99 € HT
79,45 € HT
En stock
Baisse de prix
EN AVEZ VOUS BESOIN ?

-16.4%
3M
34567
400 Chiffons professionnels d'essuyage
71,95 € HT
86,08 € HT
En stock
En avez-vous
besoin ?
EN AVEZ VOUS BESOIN ?
-12.6%
FARECLA
GPT002
Polisseuse électrique rotative diam 150mm et son plateau
319,95 € HT
366,04 € HT
En stock
EN AVEZ VOUS BESOIN ?
-17.9%
KEMTEX
SMART_WIPES
200 chiffons de dégraissage
38,50 € HT
46,90 € HT
En stock
Nouveauté
EN AVEZ VOUS BESOIN ?
FARECLA
7501
Polish effet miroir GAMME PRO D.A Fine pour finition 0.5L
27,95 € HT
En stock
EN AVEZ VOUS BESOIN ?
-6.7%
FARECLA
7505
Kit detailing polisseuse, 2 liquides, 3 mousses & 1 sac OFFERT
385,00 € HT
412,53 € HT
En stock
EN AVEZ VOUS BESOIN ?
-19.7%
FARECLA
7506
Liquide à polir correcteur de peinture GAMME PRO 1L
42,95 € HT
53,52 € HT
En stock
EN AVEZ VOUS BESOIN ?
-19.7%
FARECLA
7506
Liquide à polir correcteur de peinture GAMME PRO 1L
42,95 € HT
53,52 € HT
En stock
Le liquide de lustrage , c’est quoi ?
Le liquide de lustrage est généralement utilisé après le cirage de la voiture. Il doit être fait pour plusieurs fins :
- Rendre les défauts de la surface moins visibles.
- Masquer les rayures et les petites bosses.
- Renforcer la peinture après leur affaiblissement par les pluies acides.
- Donner un bel éclat à la carrosserie .
Toutefois , il faut savoir comment bien utiliser le liquide de lustrage , pour ne pas se retrouver avec des stries et une finition maladroite.
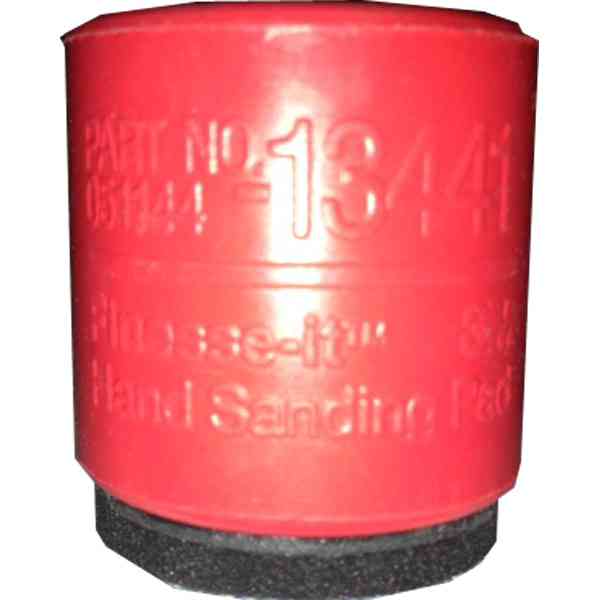
Qu’est ce qu’une mousse de lustrage ?
C’est quoi ?
Les mousses de lustrage sont utilisées dans l’étape de polissage carrosserie. Elles sont utilisées avec un produit liquide de lustrage. Généralement , les mousses s’emploient avec une machine qui fait tourner le tampon rapidement.
En effet , les mousses de lustrage sont indispensables. Les serviettes ne peuvent pas les remplacer. Par exemple , en appliquant une liquide de lustrage et en le frottant sur la surface de la carrosserie , le résultat risque d’être médiocre.
En effet , les mousses de lustrage sont indispensables. Les serviettes ne peuvent pas les remplacer. Par exemple , en appliquant une liquide de lustrage et en le frottant sur la surface de la carrosserie , le résultat risque d’être médiocre.
Comment utiliser une mousse de lustrage ?
Les mousses des lustrages sont une surface intermédiaire entre les professionnels et la voiture. Elles permettent de stocker le produit de lustrage , pour pouvoir les distribuer uniformément sur la voiture. Elles garantissent un polissage parfait.
Pourquoi utiliser une mousse de lustrage?
Pour voir l’importance des mousses de lustrages. Il existe un test facile à faire:
- D’abord , il suffit d'utiliser une serviette en papier pour frotter le produit de polissage sur une petite section de la carrosserie.
- Ensuite , il faut utiliser une mousse de lustrage avec le même produit dans une autre section à côté.
- Enfin , il est conseillé d’essuyer les deux avec une serviette en microfibre et de regarder la différence.
Guide de l'utilisation d’une mousse de lustrage
Ce guide concerne le polissage à la machine :
Etape 1 : Fixer la mousse de lustrage
Il faut commencer par fixer la mousse de lustrage sur la machine. La marque et le modèle de l’outil déterminent la manière de la fixation.
Dans la plupart des cas , il existe une plaque de support derrière la mousse de polissage. Elle peut être vissé dans l’outil , pour qu'il ne s’envole pas lors de l’allumage de la machine. Il faut vérifier le manuel de la polisseuse pour voir exactement comment il faut procéder.
D’autres outils utilisent des velcros pour fixer le tampon à la machine.
Etape 2 : Amorcer la mousse
L’amorçage de la mousse de lustrage garantit qu’elle sera prête pour commencer le travail.
Certains experts vont essorer et presser la mousse de lustrage avant de la mettre sur machine. Mais , il faut savoir comment le faire , car il y a un risque de la déchirer.
Certains experts vont essorer et presser la mousse de lustrage avant de la mettre sur machine. Mais , il faut savoir comment le faire , car il y a un risque de la déchirer.
Etape 3 : finir le prime
Pour cette étape , il faut utiliser ses doigts et étaler le liquide sur la mousse. L’objectif est de recouvrir complètement la face de la mousse de polissage avec le moins de produit possible. Il faut ajouter progressivement des petites gouttes.
Etape 4 : appliquer des gouttes finales sur la mousse
Il est conseillé d’appliquer trois gouttes. Chaque goutte doit avoir à peu près la taille d’un centime. Ces gouttes doivent être placées près du bord de la mousse de lustrage , puisqu'il s’agit de la première section qui s’appuie contre la surface de la carrosserie.
Étape 5 : sélectionner une section de la carrosserie
Avant de mettre la polisseuse sur la surface de la voiture n il faut choisir une section. De préférable , il faut commencer par une petite section , quand on est débutant. Cela permet de minimiser les dommages , pouvant être causés , suite à une fausse manipulation. Il s’agit également d’une occasion pour apprendre comment utiliser la polisseuse et la mousse de lustrage.
Etape 6 : Démarrer la machine
Pour cette étape , il faut prendre la machine et la tourner à son réglage de vitesse le plus pas. Ensuite , il faut qu'elle démarre. Cela répartit uniformément le produit sur l’outil et sur la surface de la voiture.
Etape 7: répartir le liquide dans toute la section désirée
Cette étape souligne l’importance de l’idée de la création des sections. Pendant que la machine fonctionne toujours sur le réglage de vitesse le plus pas , il faut la déplacer lentement autour de la section prédéfinie de la carrosserie.
Etape 8 : commencer le lustrage
Quand le liquide de lustrage commence à être distribué , il faut augmenter la vitesse de la machine. Idéalement , il est recommandé d’opter pour une vitesse moyenne ou élevée.
Lors de l’utilisation d’une polisseuse orbitale , il faut s’assurer de ne pas rester trop longtemps sur le même endroit. Cela risque d'entraîner une fonte de la couche de finition et d’endommager la carrosserie.
Colorbox propose des liquides ,et des mousses de lustrages de plusieurs marques reconnues à l’échelle internationale.
Pour plus d’informations , contactez notre équipe de professionnels.